
In the last 20 years, event management has often meant being locked into closed systems. Event management software companies kept everything in-house, leading to sub-par event apps, lead retrieval, customer and speaker management, marketing automation and basically any other app. For event organizers, this meant compromising innovation and quality for the sake of convenience.
Today we are releasing Oveit 2, an event tool focused on open standards. Oveit 2 is here to change what it means to organize an event, starting with event registration. It’s focus: keeping the data flow open and connected. We’ve made it easy to work with the apps you already use and to team up more effectively. Think of Oveit 2 as a tool that brings everyone in your event – from organizers to speakers – closer together, making every part of your event work better. It’s simpler, smarter event management for everyone.
So – what does this mean for users that log into their account starting today?
Revamped interface for an improved event management
The event registration software experience is now more intuitive with Oveit 2’s cleaner interface. This redesign focuses on improving your access to the most relevant features, ensuring that every tool you need for successful event management is at your fingertips.
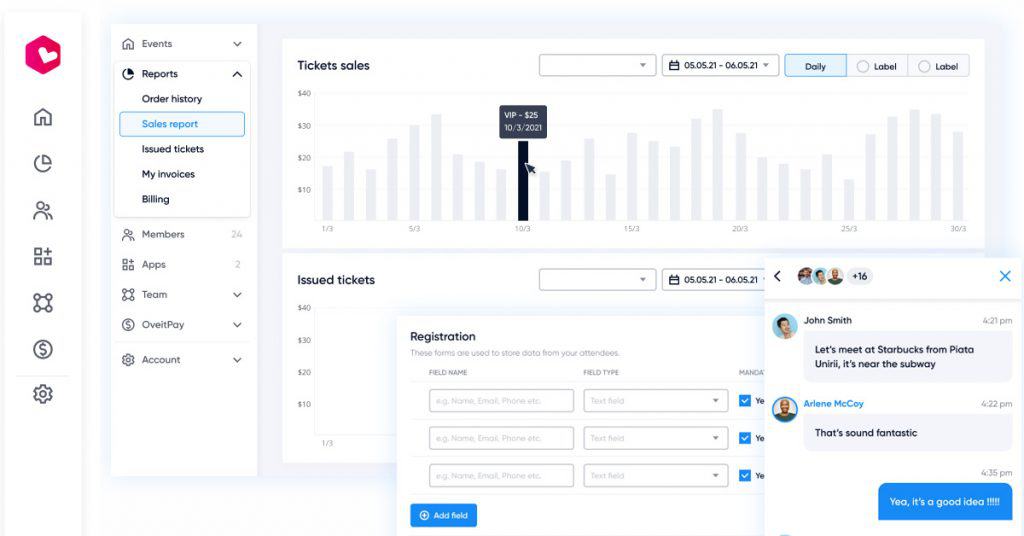
Streamlined navigation with new toolbar
In Oveit 2, we have integrated a toolbar in the left-hand area, specifically designed for event registration software. This toolbar is your gateway to easily managing event registration, marketing, reporting, financial management, and customer relationships. By consolidating these critical features in one accessible location, we aim to enhance your workflow and save valuable time.
Expanding horizons with the ‘Apps’ section
Our event registration software now includes an ‘Apps’ section, a one-stop destination where you can find and integrate with your favorite applications. Whether it’s CRM, marketing automation, or virtual event software, this addition ensures that Oveit 2 works seamlessly with the tools you already use, enhancing the efficiency and effectiveness of your event planning process.
If you are a software company that wants to plug into Oveit, don’t hesitate to connect with us. We’d love to understand how we can partner up to make events work better together.
Enhanced team collaboration features
We understand the importance of teamwork in event organization so Oveit 2 places a special emphasis on the “Team” section. This feature is designed to help with easier collaboration within teams, a huge part of using event registration software effectively. By onboarding and helping coordinate among team members, Oveit 2 makes it simpler to organize and launch successful events.
User-friendly enhancements for a smooth experience
Alongside these major updates, Oveit 2 includes several other user-friendly enhancements. These small yet beautiful touches are key to making your event work easier and better.
We’re excited to find out how you’ll use Oveit 2 in your events.