There are multiple reasons to use a cashless payment system. We have mentioned the most important ones here.
And now it’s easier than ever to set up your own cashless payment system. It really is!
Oveit allows you to set up a cashless payment system that does not require any expensive hardware. All you need is NFC-ready Android smartphones, NFC tags, and an internet connection. Using our mobile app (Oveit Pay) your day-to-day smartphone will transform into a fast and secure POS.
How does the mobile cashless payment system work?
You create your event, sell tickets (or import them). Using the Oveit Pay app you scan the tickets, check them in and pair each ticket to an NFC tag (card, wristband, etc.)
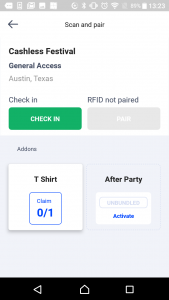
Attendees are now ready to top-up credit and purchase items onsite. For them to do this you will need:
- Top-up points/cashiers.
- Vendors.
- Top-up points
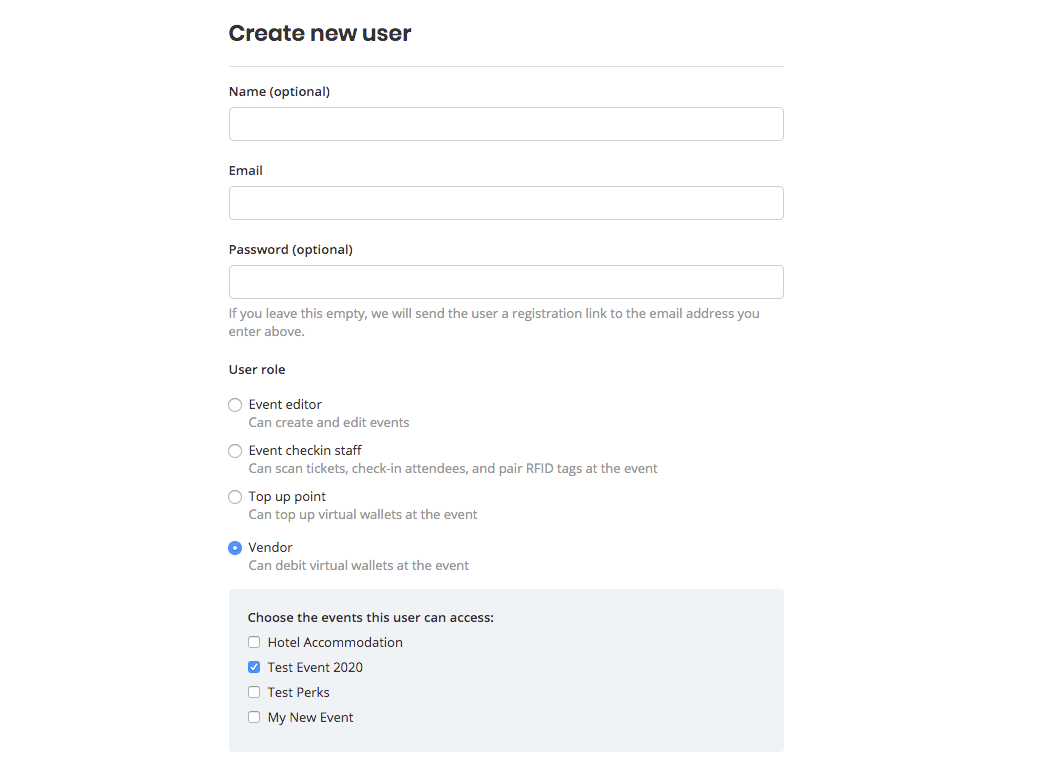
To create a top-up point you will need to first create a new user (or multiple users) with cashier credentials from your main account. To do that, from the Dashboard, select Team and hit the “Invite user” button.

When selecting the permissions make sure to check “Top up point” so that the new user will be able to top up credit for your attendees.
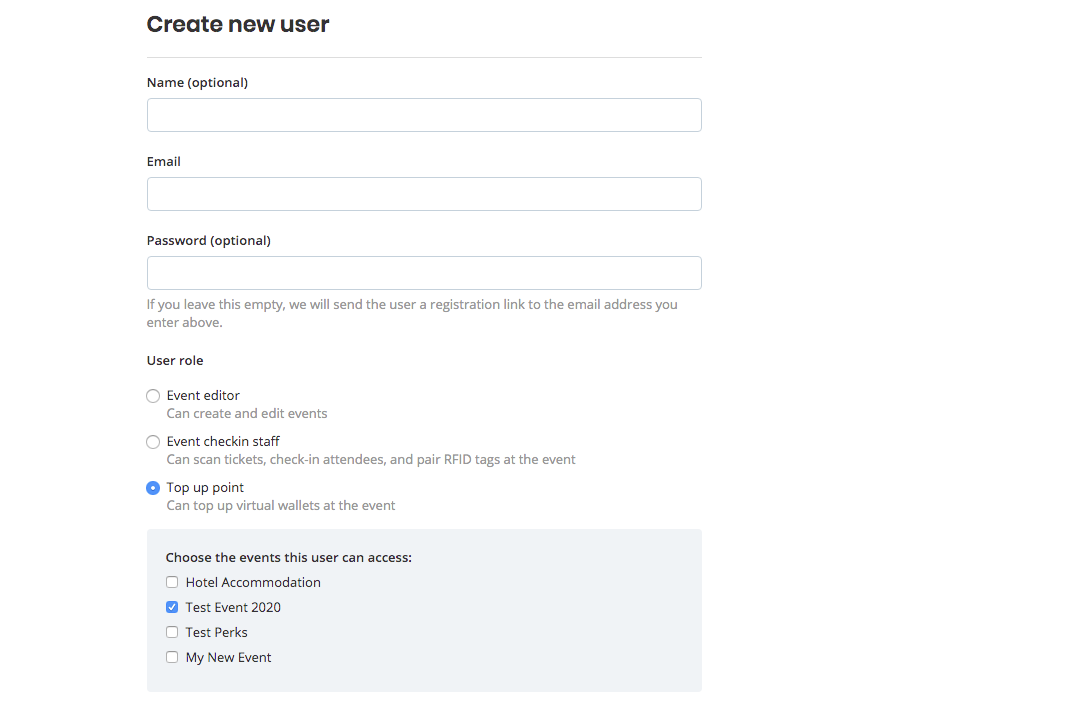
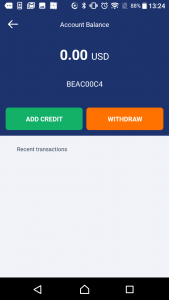
Enter the email address (it’s the username for your new account) and the password; the name is optional. Using the cashier access credentials log in into the Oveit Pay app. When attendees come to add credit simply tap the phone to the wristband and add the amount.
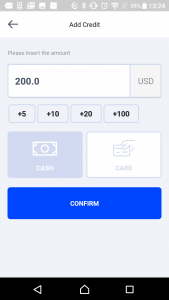
Select “Add credit”, enter the desired amount, select payment method (Cash or Card) and Confirm. Attendees are now ready to pay using the NFC wristband.
2. Vendors
To set up a store account you just need to follow the steps presented above, but make sure to select “Vendor” as a role for the user.
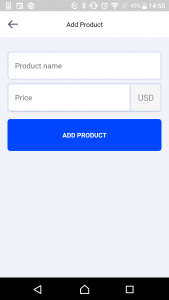
Using the cashier access credentials log in into the Oveit Pay app. The system will require you to enter the name and price of your products. Once you do that you can start selling products through the cashless payment system.
* products can also be added using Oveit.com and the POS will download the list at your first log-in
The process will be:
Attendees arrive at the selling point. You scan their wristbands and the list of products will open. Select the products the client wants to purchase and hit continue (p.s. if the total amount exceeds the client’s credit limit, the system will let you know by displaying “Insufficient funds” message).
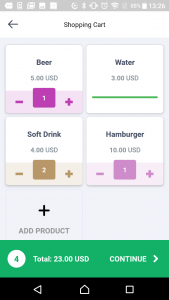
After you hit “Continue” the list of products and the total amount will be displayed on the screen.
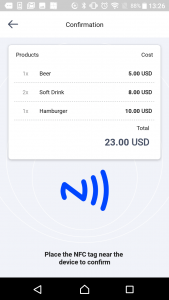
Tap the client’s wristband one more time to confirm the transaction.
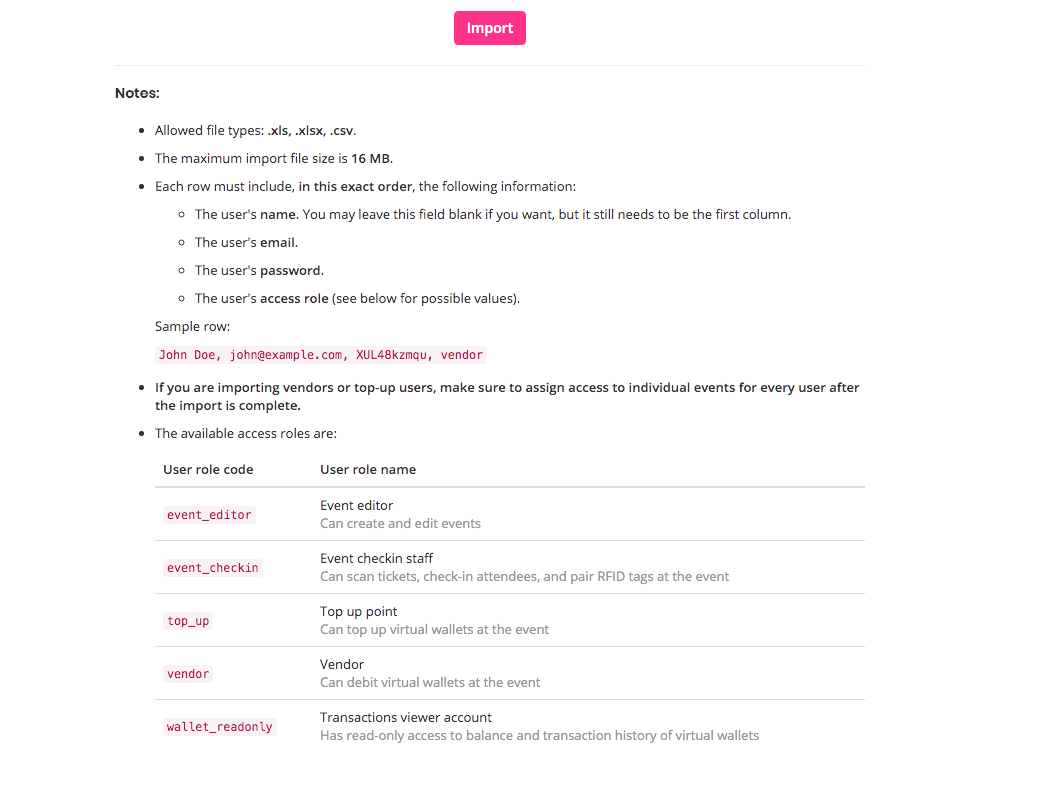
p.s. Don’t worry if you have hundreds of users. Our system allows you to easily import them as a list.
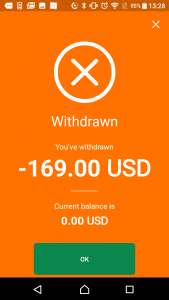
When the event is over attendees have the option to withdraw their money from the cashless payment system (if there are any left, of course). The option is available with the cashier account. The cashier taps the phone to the attendee’s wristband, selects “Withdraw” and then taps the phone one more time to the attendee’s wristband.
As you can see, setting up a cashless payment system has never been easier. And the best part is that the same cool wristband can be used for more than just payments, taking you one step closer to that “perfect event” that we all crave for.
Contact us for more info about our NFC technology for events.

I need a local cashless counter, based on mobile device(cell phone) on Student photoshop services as provided by university on payment.
Please let me know your dealers in Pakistan, if any.