From day 1, our goal with Streams.live was to enable content creators to monetize their passions and expertise. As a result, we added the option to upload pre-recorded materials (media), which might be part of a hybrid experience or solely pre-recorded. Based on your active membership, you have the option to upload video and audio files in a matter of seconds.
Please allow us to guide you through the process of uploading pre-recorded content (media) within your channel:
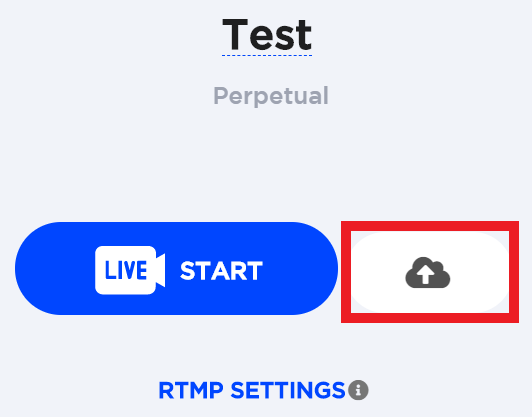
Step 1 → Select the ‘Live Start’ option which is available on the right side of your event’s name.

Step 2 → Select the ‘upload’ icon to open the available pre-recorded media features.
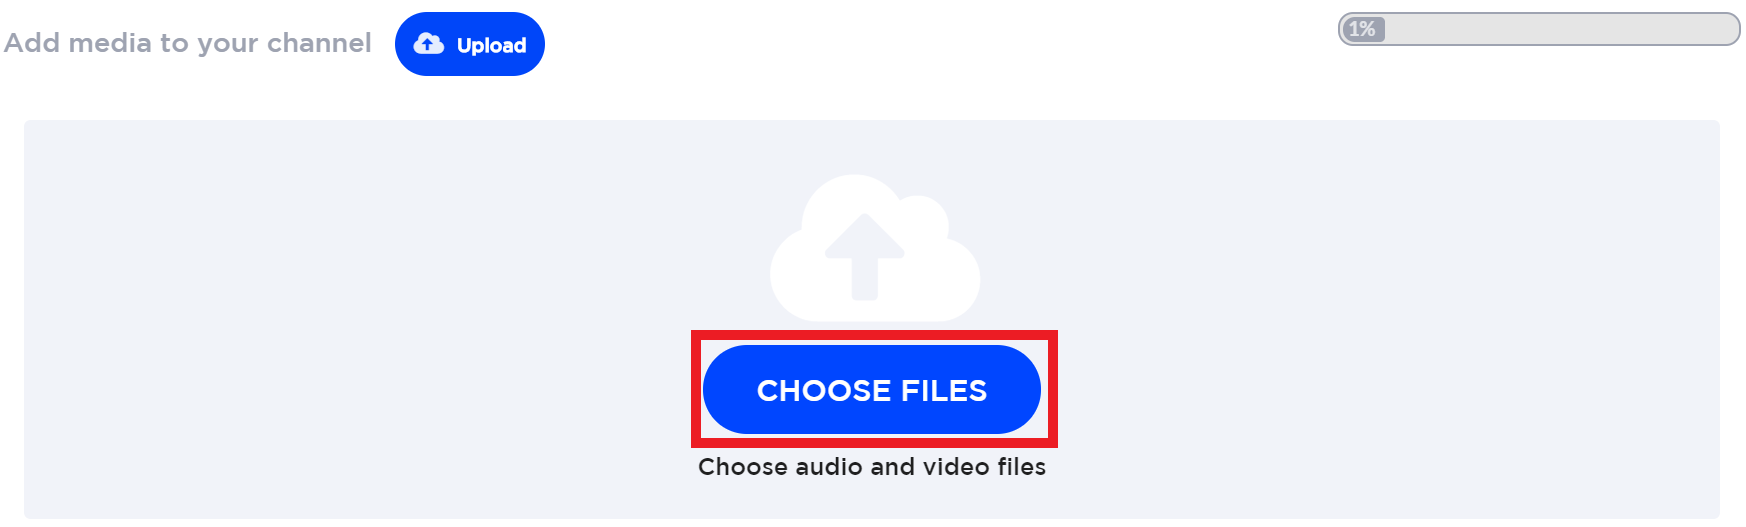
Step 3 → Select the ‘Choose files’ option to upload pre-recorded video or audio files from your personal device.
Step 4 → After you upload your video or audio content, you have the option to choose your own title and description for the uploaded media. Right below the title, you can see the amount of storage used by the uploaded media. In the top right-hand corner, the loading bar displays in percentages the amount of storage used until now. By placing the cursor on that bar, you can see the exact storage amount (e.g.: 89 MB of 8 GB).

Once the media file is uploaded, you can begin to share it with your viewers. Depending on which channel you decide to upload your media, your viewers can access it as long as they have a ticket code. To share your channel, simply copy the available Permalink and paste it on your own marketing mediums (website, social media, newsletter etc.)