Let’s say you want to start event registrations for your virtual or in-person event. You’ve decided to use an awesome event registration software, Oveit . But now the big question – how to start event registration?
First of all, thank you for choosing us. Our focus – making your life as easy as we can. This tutorial helps you start registering visitors right now and by the way – we even provide a free plan. Free registration or paid tickets – you can do it all using our app.
If you need a video tutorial, we made one you can see below. Otherwise – keep on reading this post.
Let’s get started.
A checklist on how to start event registration
The first thing you will see when you start your account with Oveit is a smooth, simple page guiding you to start your event:
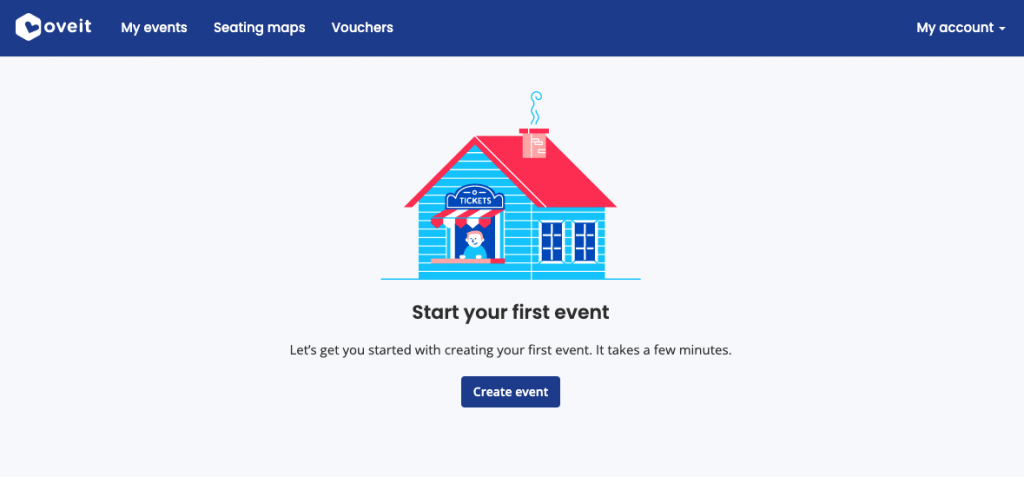
This part is self-explanatory. Press the “Create event” button and you will have to enter some details about your event. These details can be event name and the date it takes place in. Afterwards you can set up tickets and share the registration link with your potential visitors.
By default, Oveit automatically registers you with the free event registration plan, which allows you to register up to 300 visitors per event, on an unlimited number of events, free of any Oveit charge. If you receive payments, you will be charged a commission by PayPal or Stripe.
Oveit is a powerful tool, with extensive options that allow you to create the perfect event. Let’s have a look at some of the most important ones:
Your dashboard
Once you’ve started your first event you will get access to your Dashboard. Here you will see an aggregate of all your ticket sales and registrations, once they start happening.
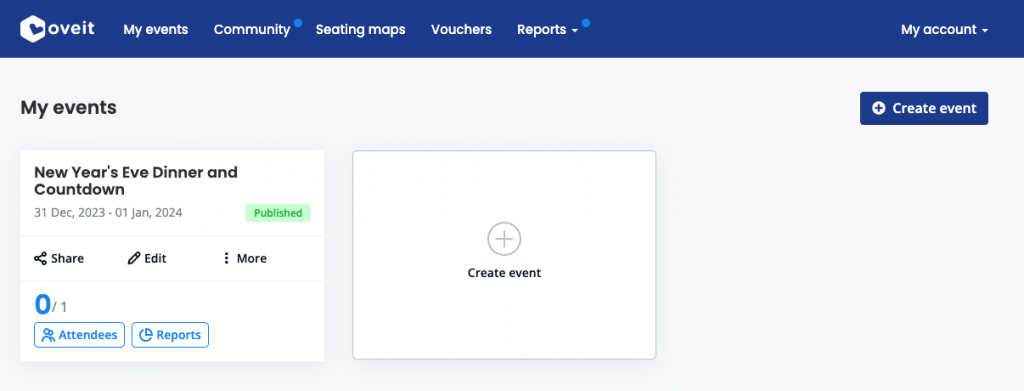
If you want to add another event press the “Create event” button or the big + sign.
How to start event registration: Your new event
Now, let’s move on to creating an actual event. You can either click on the button My events and you will be taken to the Event Management chart or you can click on Create an Event button and this will take you to the core part of Oveit.
You’ll see that creating an event is extremely easy. You have 4 main steps and two other ones in case you want to use two additional functions: Registration forms and Badge design (these are more advanced topics on how to start event registration).
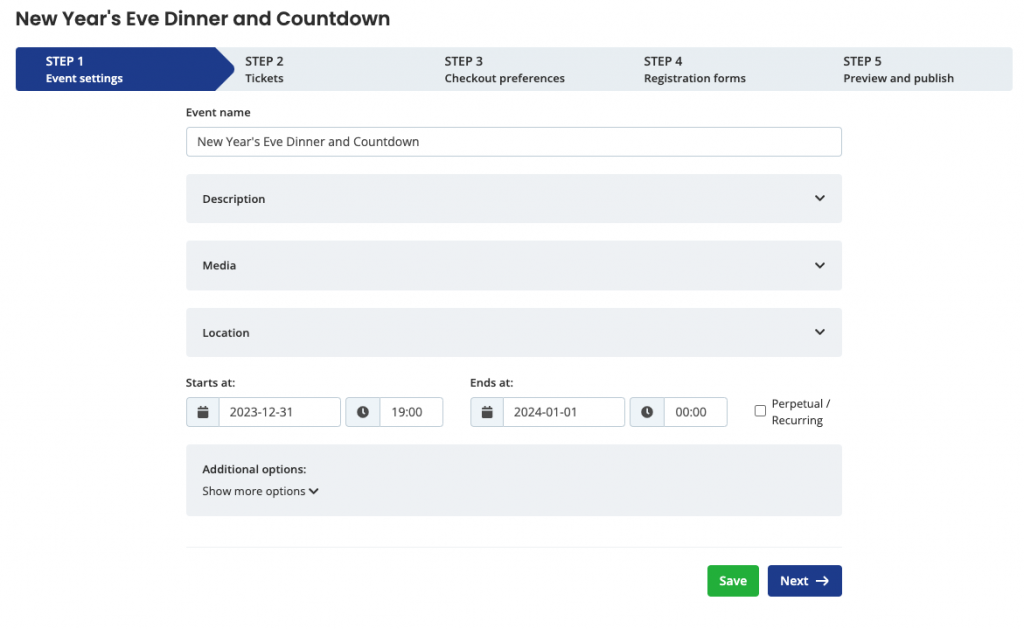
The first step is named Event Settings. Here you set up general details on your event, things such as the event’s name, start and end date and where it takes place. By the way – if you host a virtual event – just add “Virtual” or “Online” in the Location/address input.
There’s several other things you can fill in. An example would be “No seating”. This means you will not have a seating map. If you need a seating map just choose “With seating” and find out here how to set up a seating chart.
You will need to add a start and end date for your event. If you’re selling tickets for a venue, such as a theme park that sells tickets all year round, just tick “Perpetual”. This will allow visitors to buy tickets whenever they feel like visiting you.
There’s several other more advanced features, such as registration forms or badges. If you need these, be sure to book a guided tour of these features.
Adding tickets to my event registration
Next steps on how to start event registration guide: tickets.
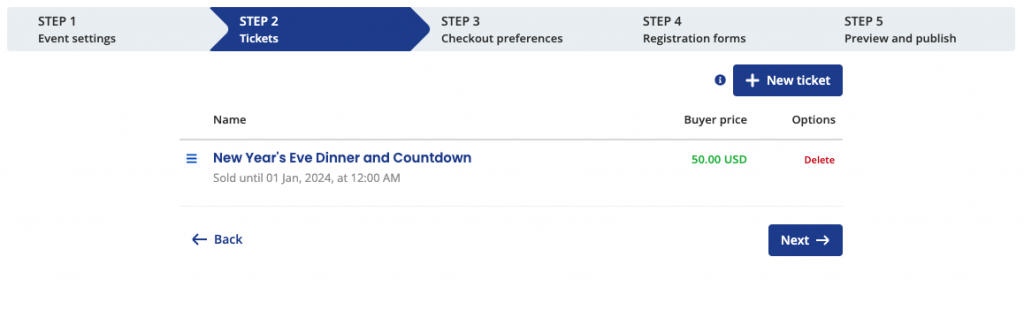
This is where you set up your types of registrations, free or paid tickets. Oveit allows all sorts of discounts and addons with your ticket but you only need to know one thing. At its basics you will just need to add one ticket, free or paid and click “Save”. This takes you to a list where you can add more tickets by clicking “New ticket”.
Sometimes you may need a more advanced ticketing setup when you start event registration. If so – contact us for a guided tour or more advanced features and benefits.
How to start event registration: checkout preferences
This is where you tweak what happens during the event registration process and/or the payment process.
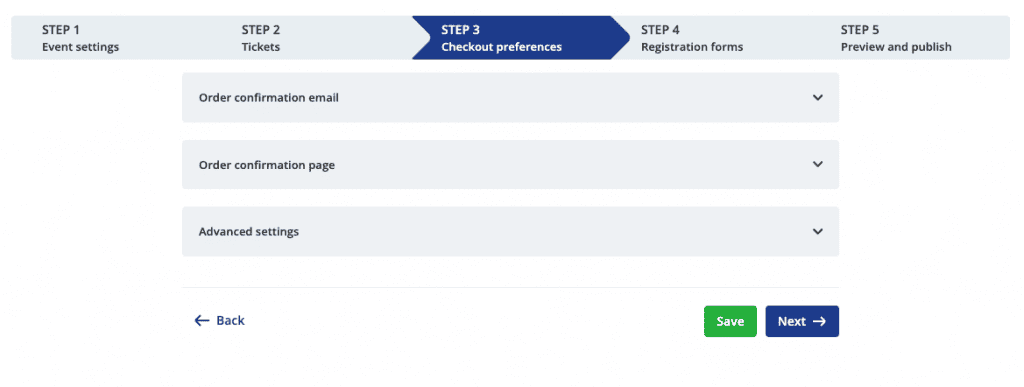
Let’s check out these options:
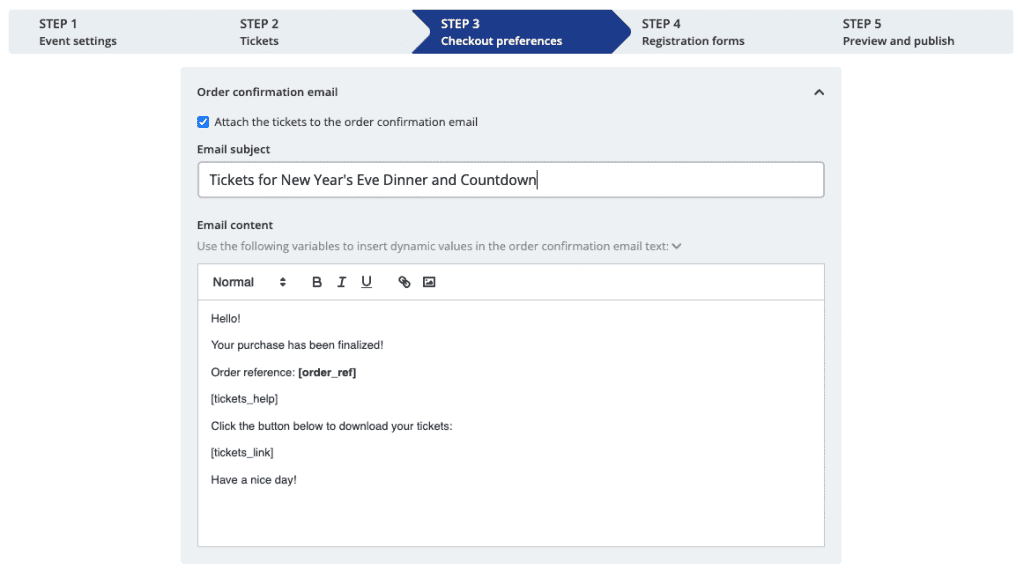
The order confirmation email is where you customise the type of follow up email and its subject. This is what your customers receive after they’ve registered for your events.
Some of the content in the email is dynamic, like the order reference and the link where the customers can download their ticket. This is unique for each order. These dynamic tags can be found by pressing the little chevron above the actual email content.
Next up – the order confirmation page:
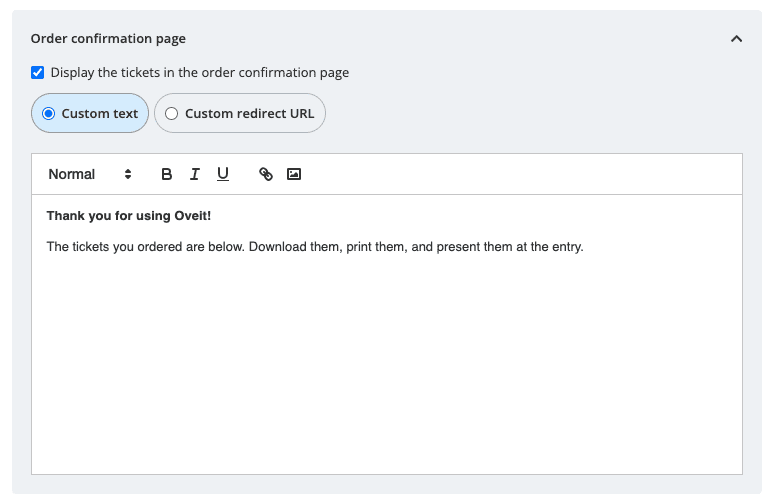
This is the section your customers see after they’ve finished purchasing your tickets and registering for your events. You can set up a custom message or redirect to a special URL, like a “Thank You” page.
Finally, some advanced options:

Based on your account type this section will have a bit more options but these are great to start with.
Registration forms for your event

No event registration is complete without its registration form. This is where you can ask visitors for details you are interested in collecting for later marketing or statistics purposes.
With Oveit you can set up special fields and get the relevant data from your customer.
How to preview your event registration
The final step in the event registration setup is the Preview and publish section:
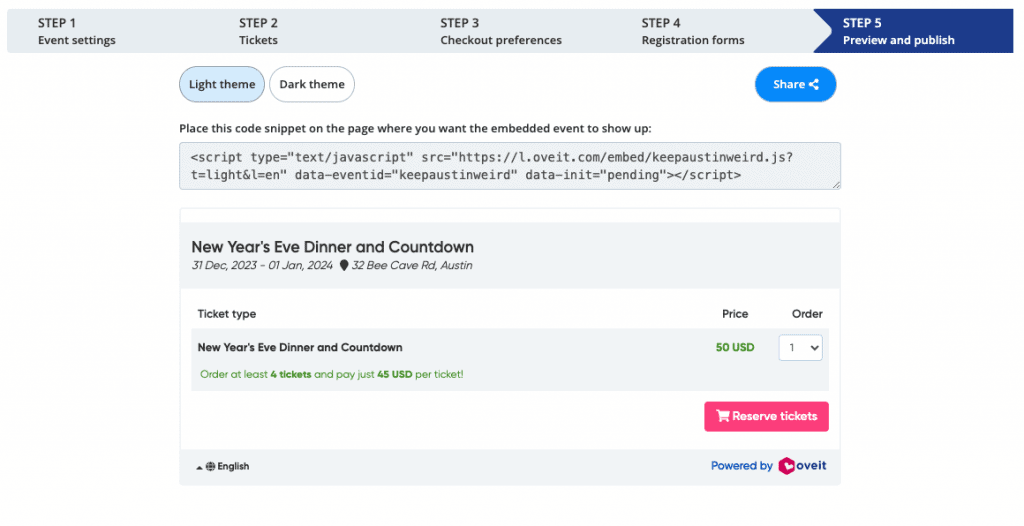
This helps you to preview your registration widget prior to publishing it. Press publish and you are ready to go if your event is free.
After you published the event, click on share to share the event link with your guests or copy and paste the event registration widget into your website editor.
If you want to charge a ticket fee, the next step is:
Payment processor integration

If you haven’t done so already, this is where you connect your payment processor. We recommend Stripe or PayPal but depending on your location there are other payment gateways available. By connecting your payment processor you can receive payments instantly. It’s very, very simple:
- If you use Stripe: press “Activate Stripe integration”. This takes you to your Stripe account where you can check whether you want to safely accept payments with Oveit.
- If you use PayPal: press Activate PayPal integration: In the next step you will add your PayPal email address and name. This helps Oveit to know where to send funds paid by your customers.
All of our transactions are handled by our partners (e.g. PayPal and Stripe). Your money or your customers payment data is never stored with us.
If you haven’t done so already, you will need to fill in your billing information. As you sell directly to your visitors, they will need to know who they’re buying from. Oveit issues invoices for all purchases on your behalf. Here’s what you need to fill in, only once, as you start selling:
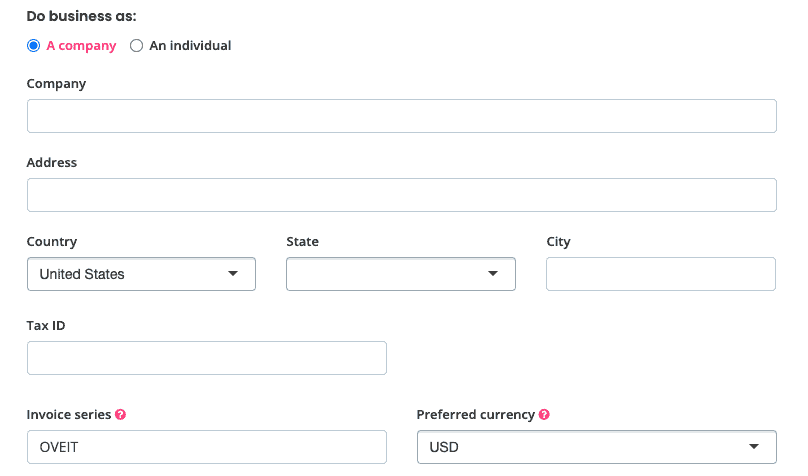
If this is a bit too complicated when you start your event, just reach out to us and let’s set up a call where we can guide you through the setup process, step by step. One of our customer success staff will help you get everything set up.
Final step: Copy, paste and embed your event in your website
The last step: start your event registration. All you have to do now is get the event on your website or share the event link with your guests.
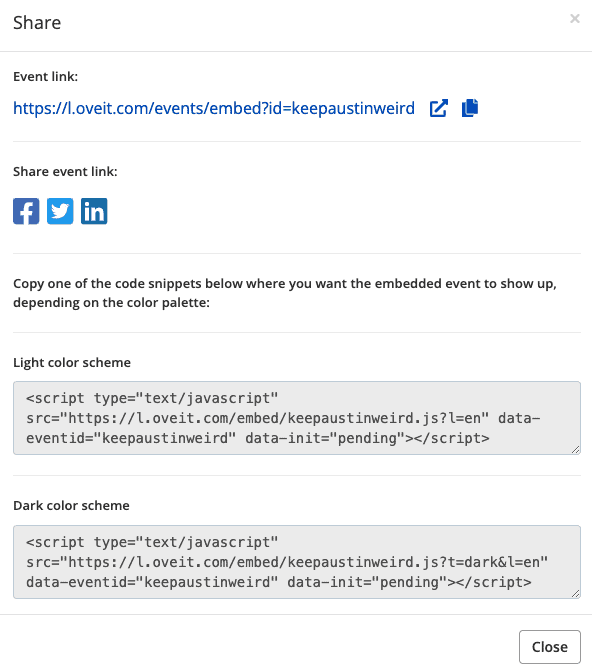
- Point visitors to your event registration page on Oveit. Click the “Share” link and share the URL with your visitors on social media or your website.
- Embed the registration on your website: you will notice that every event sharing modal has two inputs with a short code section in it. One provides a light theme and one a dark theme. Just copy the code you need and paste it on your website. The embed is responsive and works with most website management software so you won’t have any problems putting it on your website in just a couple of seconds.
And that’s it! You managed to start your event registration and start receiving event registrations. Now visitors can register, purchase tickets and attend your in-person or virtual event.