How to improve attendee experience with a smooth registration process

It is known that in business the first impression can be a deal-breaker, especially if you are a small company trying to work your way up. But does this rule apply to the event management industry? Do you think that an attendee’s first impression about your conference can affect your business? Well, the answer is yes!

meeting-83519_1920

And even though it’s fair to say that the very first impression may occur when a customer tries to buy a ticket, let’s talk about the greeting and the registration process (and how to make sure that your attendees feel welcome).

Here are some insights:

Use the right software

It is impossible to ensure a smooth process if you need 3 minutes to check in or register each attendee. Here are some things you might do to welcome your guests: search each guest by name, look for their printed badge, collect their data. All these things add up to the registration time. But if you use an effective app, you just need to scan a barcode or a qr code to identify and welcome your guest. Here’s what you might do afterwards: check in, collect data into your database and have the badge ready for print. Easy enough when you have the right tools.

Make sure everything is functional

As Kelsey Ogletree said, technology has a dark side and I think it’s safe to say that a registration system crashing in the morning of your event falls into the not-so-bright category  . This is why you should always triple check your registration systems prior to your big event (and all the switches/cable). And also make sure that everyone who is involved in the registration process is well trained in using the registration software.

Divide the check in process into tasks

If you want to save some time with the registration process (and who doesn’t?) you should encourage the registration team to work with predefined tasks. For example, here’s a way of splitting responsibilities among three team members:

    1. One staff member scanned the ticket and verified access credentials
    1. One staff member printed the badge
  1. One staff member assisted attendees with the wristbands

The result? It takes a lot less time to check in/register each guest.

And some more tips for a perfect start:

Keep your team informed

Make sure your staff members know the basic information an attendee could ask (where is the wardrobe, where are the restrooms, which stairs to use – if there are any etc). On the other hand it’s wise to have an info point with permanent assistance for more specific questions and/or complaints (although you might think everything is in place – and maybe it is – chances are your guests will be at times in need of assistance).

Check in has it’s peak point.  Adapt

Keep in mind  that technology cannot solve all issues, so for the registration peak point you should open some extra check in points (most of your attendees will arrive 30 minutes prior to the start, so make sure you have some extra registration points in the first part of the day). Afterwards you can close some of them and your team members can focus on different tasks.

Take care of your team

Let me just quote sir Richard Branson on this one: “The way you treat your employees is the way they will treat your customers”. Make sure your team is fully prepared, motivated AND happy (yes, it is hard work, but you can still have fun doing it). Your attendees will be greeted with a big natural smile and that’s always the best way for them to start the day, and they are more likely to overlook any shortcomings that may occur later.

Not everyone will respect the schedule

Some of the participants may arrive earlier than expected: some traveled from out of town and came directly to the venue, some are just impatient and some misread the schedule… Don’t forget they are your guests, so treat them right. Ask them in, offer them a cup of coffee/water and explain that they will have to wait for registration. Keep in mind this is a very important part of your customer care process.

Water and coffee for everybody

Make sure you have plenty of water and coffee for all your attendees. It is best you let them accommodate with a welcome coffee; you will also need coffee breaks every 2 hours or so, otherwise your attendees will lose their focus.

If you host a full day event you be sure to include a lunch break in the schedule (if you don’t cater the lunch at least offer some information about restaurants nearby).

Don’t be afraid to get creative

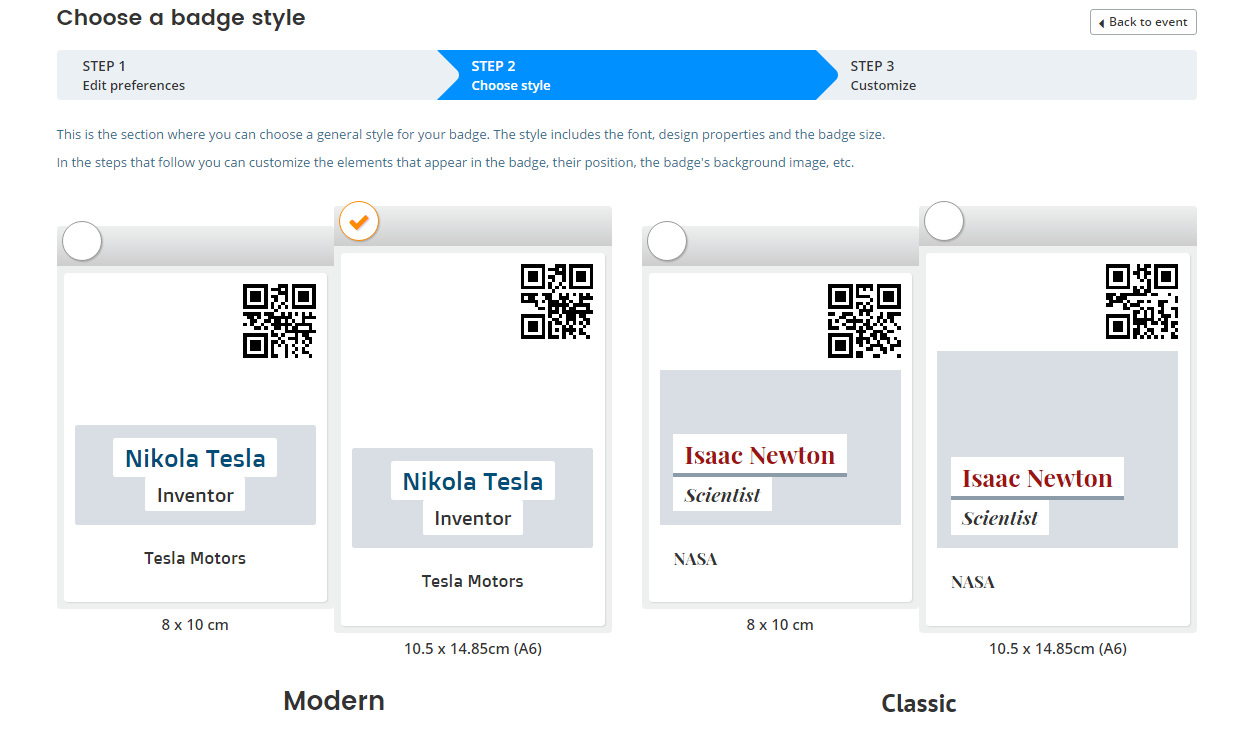
Let’s admit it: we all love cool stuff. So do yourself a favor and use a cool badge (use a registration software that offers you this feature)  and nice colored wristbands. Trust me, your attendees will notice your attention for detail and will help you spread the word about your “supercalifragilisticexpialidocious” event  by posting photos on social media.

There are many aspects that you must have in mind when planning an event, from the speakers  list to venue and suppliers. But don’t forget that the registration process is a an important part of your guest’s overall experience and keep in mind that a very good first impression works wonders.

How to Create Personalized Badges for Your Event, in 3 Easy Steps

If you’ve been browsing our blog and went through the articles, you might’ve bumped into one titled “5 Tips for the Perfect Event Badges”. At the end of the article we mentioned a little secret that could help you out with the badge creation for your event. And that secret is, obviously, Oveit. In the following article we’ll be going through the step by step process of creating badges for your event using our Oveit event registration software.

1. Set up your event

The first thing you have to do is set up your event. Here’s a brief tutorial on setting up your event on Oveit. However, setting up badges is related to this part so the first elements that you have to activate are found in the additional options of the first step: Enable registration forms and Enable attendee badges. Mark them both.

Forms help you collect attendee data. This data is afterwards printed on personalized badges.

Forms help you collect attendee data.
This data is afterwards printed on personalized badges.

After you click save, a new tab shows up: Registration forms. Yay!

2. Set up registration forms

registration-forms-activated

Now you can collect data from your attendees.

Here, make sure that you mark as Mandatory all the information fields that you want your attendee to have on his badge (Name, Company, Position in Company etc.).

Here’s how a registration form might look like:

registration-forms-setup

There are two important areas here:

  1. Data recipients, which is optional. Here you can enter up to 3 email addresses that will receive updates when forms are filled in.
  2. The form fields. This is where the magic happens. This is where you actually set up your form. You can choose from text fields, dates, emails and such. But for the purpose of our badge setup tutorial, let’s just focus on “text”. For example I chose two text fields I want my attendees to fill in and shown on their badges: Name and Company.

Save and continue setting up your event. When you go back to your events dashboard you will see that the event has a new button next to “Tickets”. It’s called “Badges”.

new-button

3. Setting up your Badge design

Click on it and you will be taken to the Badge design tool. The first thing you see is a blue message: “You haven’t created any badges for this event.” Time to fix this situation. Click on the “New badge” button located in your top-right corner. This will take you to step 1.

badges

Step 1 – Who receives a badge and how will they be able to download it?

Once you’re at Step 1 you will first have to choose what ticket is associated to the badge. You can opt for a specific ticket (to create a specific badge – such as VIP Badge or Press Badge) or a badge for “All tickets”.

The next thing you have to check is whether you want to deliver the badge automatically to attendees via their email after the ticket order is confirmed. This will work only if you have set up at least one mandatory email field for this event.

If you choose to send the badges via email after order confirmation, you can choose your own Email subject and Email text. It is important that you add the ##download_link## variable to the Email text. That is where your attendees will click to download their badge. So regardless of what you want to communicate to your customer, make sure you add that variable to the text.

Step 2 – Choose your badge style

badges-step-2

Step 2 is the Badge style. You can choose one of the four standard badge sizes and formats. These are generally used for all major events so we’re sure that one of these will suit your needs. Once you chose your style, go to the next step.

Step 3 – Customize the badge design

Step 3 is the last and most important one. Here you actually configure your badge. You will see an image of your badge to the left. To the right you can upload a background that you previously create (this is something created specific for your event).

The maximum file size is 4MB and it should be a jpg, jpeg, png or gif. The background design is your choice: you can add sponsors, details, logos, information, maps of the event, anything that you want to appear on the badge of every participant (or of the specific category of people that have access to this type of badge).

A4-badge-area

Click to download an A6 to A4 badge template

Here is an example: Even though the A6 badge area is the only customizable section, you can add a larger background, of up to the size of an A4 paper (at 300 dpi). Click on the image on the right to get a template which you can use to customize your badge. The general areas are outlined so you can see where the content goes.

You can actually print an A4 badge, fold it two times and slip it in a lanyard holder.

Next, you can activate the QR code if you want to scan attendees by their badges. You can move the QR code to the left or right of the badge, as you prefer it (you can also make A4 badges, where only the upper left part will be editable, the rest is your design and when someone receives it, the badge can be folded and placed into the plastic pocket he usually receives at the events’ registration desk).

Drag and drop form fields to show on the badge. Activate and move around the QR code to fit your needs.

Drag and drop form fields to show on the badge.
Activate and move around the QR code to fit your needs.

Finally, you will have a list of the Mandatory fields that you previously created in the Registration Forms step. Here you can drag whatever field you want on the badge and arrange it any way you want. Once you’re done with this, Save your badge and that’s it! You’re done! Simple as that. In less than 5 minutes you can create a badge that will be available for everyone who registers (or buys tickets) at your event. Now all those long hours spending time to create special badges for every attendee are gone.

Of course, if you want to create more badges just repeat the process I’ve just described and you can have as many badge types as your event needs. The attendee has several options now: He can print his badge at home and come with it to the event or someone from your staff can print the badge when the attendee comes to the event. That is simple as well.

Just go to the Events dashboard, click on the “Check – in” button and you will be able to search and find the attendee by typing his name or other form details.

print-badge

Once you find him, you can click on the Print Badge button and that’s it. The badge is printed and your attendee can now enjoy the event.

printing the badge

Hope this was useful. If we can help you further, please let us know.

5 Tips for the Perfect Event Badges

Badges. We all want these small items, because they are our gateway to the event. Backstage passes, VIP badges, press badges or regular entrance badges, we’ve all come across them, regardless of the event. Small and sometimes unnoticeable, badges are one of the most important elements that can make an event good or bad. And while a nice badge will make your attendees wear it with pride and keep it as a souvenir, a bad one can also help. It won’t stand out from the crowd but it will do the trick of getting you inside the venue for your event.

youth-badges-event

So, badges are important for events, but can also be a big burden for the organizer. Ever wondered how it feels to manually create 100 badges for your event? Well, if you think it’s a pain… try to think about big events such as ICEEfest (3500+ badges) or even WebSummit (40.000+ badges), all of them personalized and separated in different categories. If you’re an event organizer, you know what we are talking about, but if you are just planning your first event, you are about to embark on a journey that could be easily called “the nightmare of badges”. Of course, there are some tips and tricks on how to overcome it.

So you have your event planned, tickets are sold or you have several attendees registered. Now comes the badge part. Once someone comes to the event venue, he will be welcomed at the access point, where he will have his ticket checked and badge given. How do you make the badge attractive, so that people will wear it and use it during the event?

1. Create one badge to rule them all

When it comes to badges, size does matter J. There are different regular badge sizes but generally, the standard sizes are: 8×10 cm and 10.5 x 14.85cm (A6). Basically you can do it any size you prefer, but it’s easier to follow the standards as usually the badge goes into a plastic pocket and unless you want to create a personalized pocket, you might want to go the traditional way.

2. Information is the key

The badge has a limited space and you might want to select what information goes there. It is essential that it contains the First Name and Last Name of the attendee, preferably in that order. Then you might want to add important information, such as the name of the company that the attendee works for or his position in the company. You can add other information as well, but make sure that the text isn’t cluttered. A badge full of text will become unreadable and that is definitely not its purpose.

3. Designing your event badge

badges-2A white badge is not a good badge – it will probably end up in the garbage bin at the end of the event. Badge design is vital for your event, as it reflects the whole image of the event. Besides the graphic elements that vary from one event to the other, you might want to take into consideration the badges for different categories at the event. The regular attendee badge should be different from the VIP badge or Press badge. Also, a complex event can have different venues and different ticket options, so badges can help your organizing staff determine the identity of any attendee. To do this differentiation you can use various colors or designs. Your call.

4. Adding sponsors to the event badge

Yes, badges are the most attractive elements for the sponsors. Why? Because everyone gets a badge at the event and if your main sponsor is well positioned on the badge, everyone’s eyes will see the company’s logo. The badge “spot” is a precious one so you might want to consider a single sponsor to be positioned on the badge. That way you might get a good sponsorship just because you are playing the badge game correctly.

badge-design-1

With Oveit, badge design is easy and fun

5. Additional badge usage

Depending on your event, the badge might also prove useful for other things as well, not only access. For example, by unfolding the badge you might get the map of the event venue, the event schedule, or both. Thus, the badge can turn into your personal event assistant with just a couple of flips.

As you’ve seen, badges can be a lot of things and can be a useful tool for your event. The most important thing, however, is that the badge can be a mirror of your event. If it’s done in a professional way, then there’s a good chance that your event will be professional. Spend time on your badge design and your event will benefit from it. Guaranteed!

We also have a little secret regarding the time spent to defeat the “badge nightmare”. Time to unravel it: Go to Oveit.com, create an account and you’ll find our Badge design tool. Activate it and you can do thousands of personalized badges with just a couple of clicks. You don’t believe us? Give it a try and you’ll never want to use another badge design tool ever again.