If you’ve been browsing our blog and went through the articles, you might’ve bumped into one titled “5 Tips for the Perfect Event Badges”. At the end of the article we mentioned a little secret that could help you out with the badge creation for your event. And that secret is, obviously, Oveit. In the following article we’ll be going through the step by step process of creating badges for your event using our Oveit event registration software.
1. Set up your event
The first thing you have to do is set up your event. Here’s a brief tutorial on setting up your event on Oveit. However, setting up badges is related to this part so the first elements that you have to activate are found in the additional options of the first step: Enable registration forms and Enable attendee badges. Mark them both.
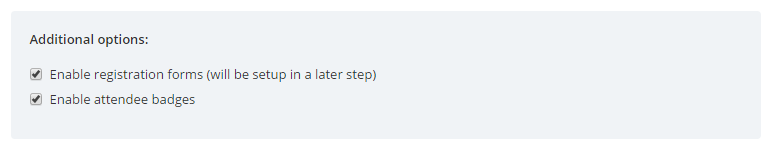
Forms help you collect attendee data.
This data is afterwards printed on personalized badges.
After you click save, a new tab shows up: Registration forms. Yay!
2. Set up registration forms

Now you can collect data from your attendees.
Here, make sure that you mark as Mandatory all the information fields that you want your attendee to have on his badge (Name, Company, Position in Company etc.).
Here’s how a registration form might look like:
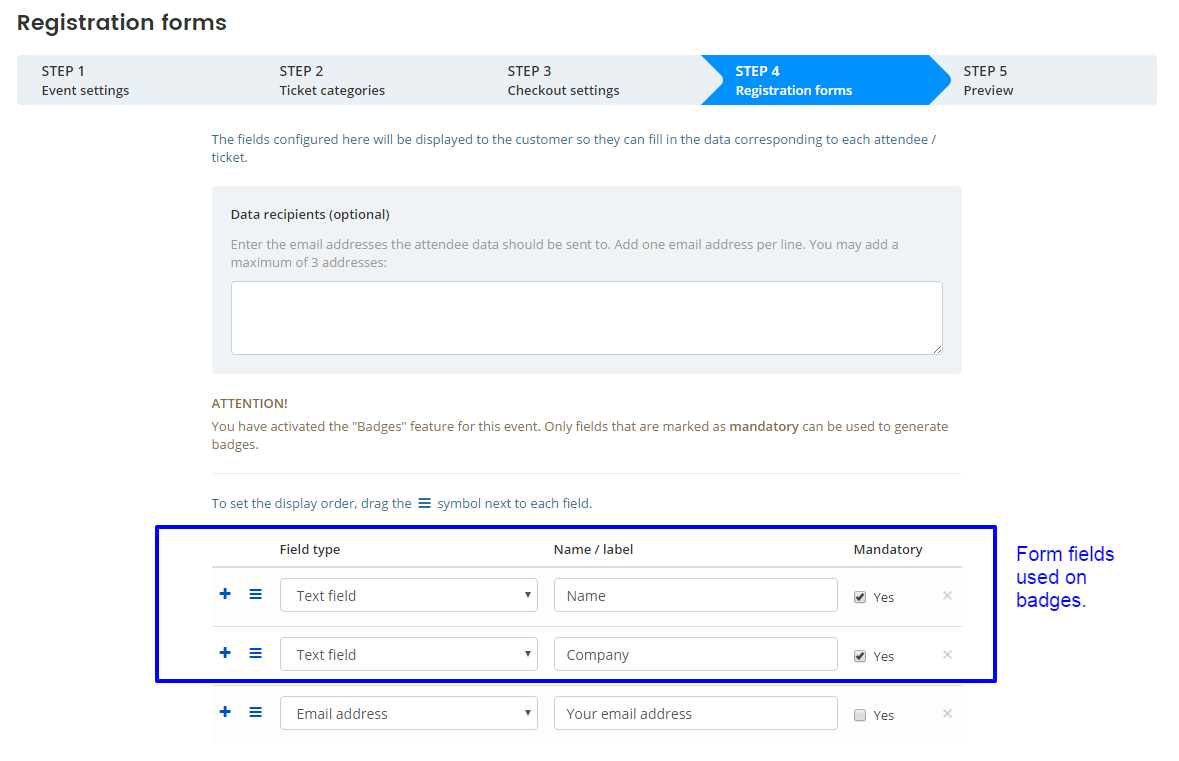
There are two important areas here:
- Data recipients, which is optional. Here you can enter up to 3 email addresses that will receive updates when forms are filled in.
- The form fields. This is where the magic happens. This is where you actually set up your form. You can choose from text fields, dates, emails and such. But for the purpose of our badge setup tutorial, let’s just focus on “text”. For example I chose two text fields I want my attendees to fill in and shown on their badges: Name and Company.
Save and continue setting up your event. When you go back to your events dashboard you will see that the event has a new button next to “Tickets”. It’s called “Badges”.

3. Setting up your Badge design
Click on it and you will be taken to the Badge design tool. The first thing you see is a blue message: “You haven’t created any badges for this event.” Time to fix this situation. Click on the “New badge” button located in your top-right corner. This will take you to step 1.

Step 1 – Who receives a badge and how will they be able to download it?
Once you’re at Step 1 you will first have to choose what ticket is associated to the badge. You can opt for a specific ticket (to create a specific badge – such as VIP Badge or Press Badge) or a badge for “All tickets”.
The next thing you have to check is whether you want to deliver the badge automatically to attendees via their email after the ticket order is confirmed. This will work only if you have set up at least one mandatory email field for this event.
If you choose to send the badges via email after order confirmation, you can choose your own Email subject and Email text. It is important that you add the ##download_link## variable to the Email text. That is where your attendees will click to download their badge. So regardless of what you want to communicate to your customer, make sure you add that variable to the text.
Step 2 – Choose your badge style
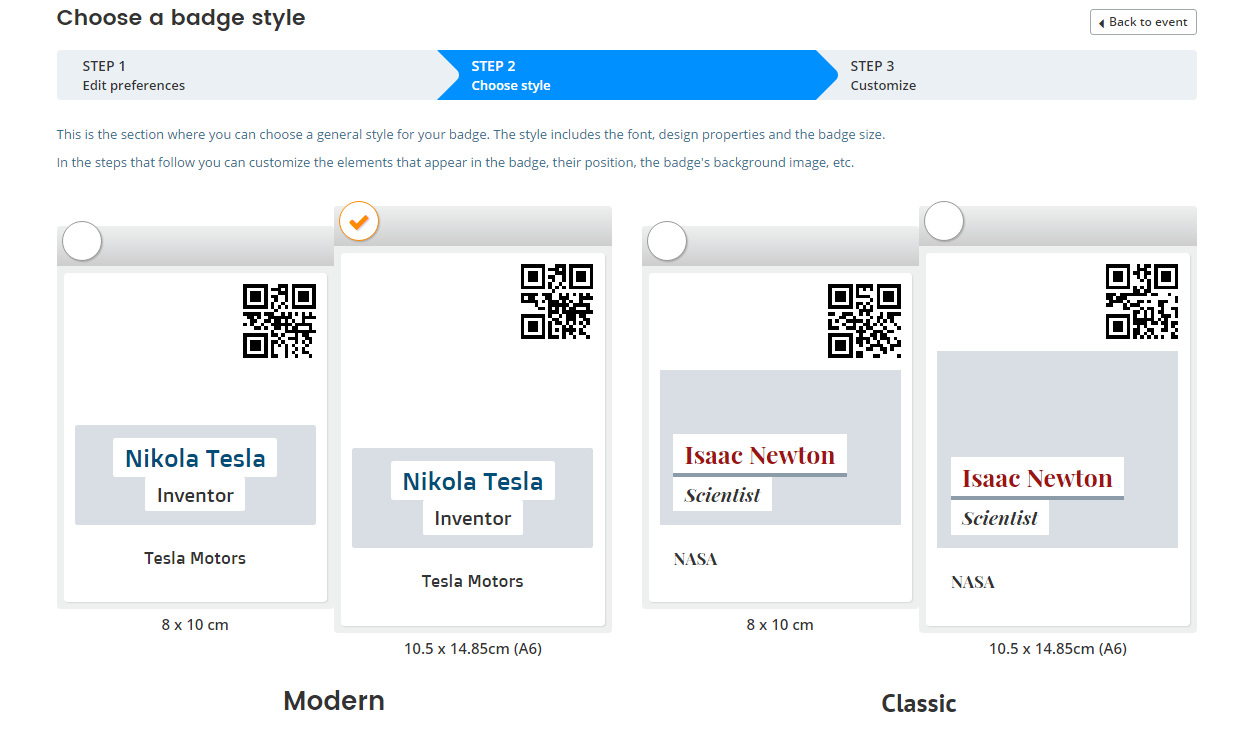
Step 2 is the Badge style. You can choose one of the four standard badge sizes and formats. These are generally used for all major events so we’re sure that one of these will suit your needs. Once you chose your style, go to the next step.
Step 3 – Customize the badge design
Step 3 is the last and most important one. Here you actually configure your badge. You will see an image of your badge to the left. To the right you can upload a background that you previously create (this is something created specific for your event).
The maximum file size is 4MB and it should be a jpg, jpeg, png or gif. The background design is your choice: you can add sponsors, details, logos, information, maps of the event, anything that you want to appear on the badge of every participant (or of the specific category of people that have access to this type of badge).
Click to download an A6 to A4 badge template
Here is an example: Even though the A6 badge area is the only customizable section, you can add a larger background, of up to the size of an A4 paper (at 300 dpi). Click on the image on the right to get a template which you can use to customize your badge. The general areas are outlined so you can see where the content goes.
You can actually print an A4 badge, fold it two times and slip it in a lanyard holder.
Next, you can activate the QR code if you want to scan attendees by their badges. You can move the QR code to the left or right of the badge, as you prefer it (you can also make A4 badges, where only the upper left part will be editable, the rest is your design and when someone receives it, the badge can be folded and placed into the plastic pocket he usually receives at the events’ registration desk).

Drag and drop form fields to show on the badge.
Activate and move around the QR code to fit your needs.
Finally, you will have a list of the Mandatory fields that you previously created in the Registration Forms step. Here you can drag whatever field you want on the badge and arrange it any way you want. Once you’re done with this, Save your badge and that’s it! You’re done! Simple as that. In less than 5 minutes you can create a badge that will be available for everyone who registers (or buys tickets) at your event. Now all those long hours spending time to create special badges for every attendee are gone.
Of course, if you want to create more badges just repeat the process I’ve just described and you can have as many badge types as your event needs. The attendee has several options now: He can print his badge at home and come with it to the event or someone from your staff can print the badge when the attendee comes to the event. That is simple as well.
Just go to the Events dashboard, click on the “Check – in” button and you will be able to search and find the attendee by typing his name or other form details.
![]()
Once you find him, you can click on the Print Badge button and that’s it. The badge is printed and your attendee can now enjoy the event.
![]()
Hope this was useful. If we can help you further, please let us know.

